Hello, in this tutorial we will learn the offset tool and the erase tool. We will use these tools to make partitions very easily
![]() The offset tool, “F” is the Keyboard shortcut. This tool allows you to create a copy of lines, faces, arcs, or any other shape with at least two adjacent edges, by placing them at an equal distance from the original. For this we can pre-select elements to offset and then use the tool or we can use the tool directly. The second way is faster but can be a source of error. I would advise you to select in advance what you want to offset.
The offset tool, “F” is the Keyboard shortcut. This tool allows you to create a copy of lines, faces, arcs, or any other shape with at least two adjacent edges, by placing them at an equal distance from the original. For this we can pre-select elements to offset and then use the tool or we can use the tool directly. The second way is faster but can be a source of error. I would advise you to select in advance what you want to offset.
You can specify a distance, so it is very easy to define partitions. If I want walls with a thickness of 15 cm I just have to enter “15cm” when I use the offset tool and I have my wall of the desired width. If I wanted to do it with lines it would have been very tedious. Of course, you will not necessarily want to offset all segments of a face when you make your partition, so it is possible to use the offset tool on adjacent edges.
An example is provided here :
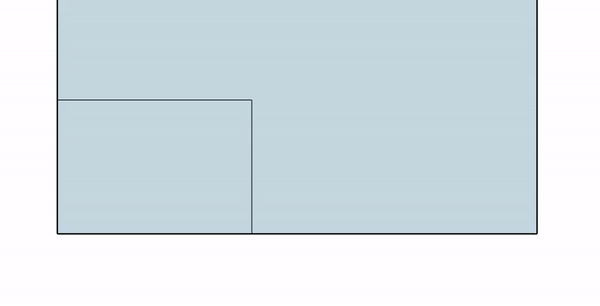
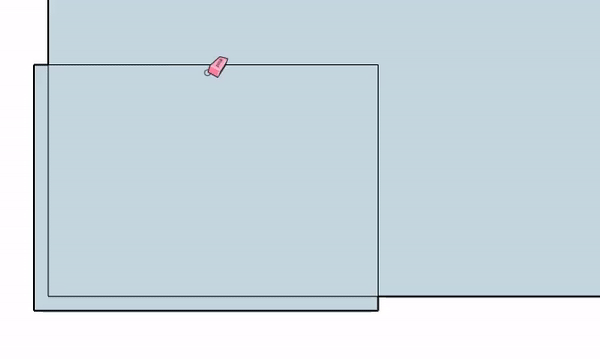
If you use the offset tool on two edges and you go outside, the tool will only make a copy of the edges but it will not connect these two new edges to the two old ones. You will need to use new lines to connect them. While carrying out these correction, we will need modification tool, the most used is “Erase” tool.

![]() Keyboard shortcut “E” for “erase” tool, it can be used by clicking on what you want to delete or click & drag mode (while pressing the left mouse button) on elements that you want to remove. The tool only works on lines / segments. If you want to delete faces, you will have to select it and use the “delete” key on your keyboard. By using your eraser with the click-and-drag function, you will only erase what you have flown over upon releasing the mouse button.
Keyboard shortcut “E” for “erase” tool, it can be used by clicking on what you want to delete or click & drag mode (while pressing the left mouse button) on elements that you want to remove. The tool only works on lines / segments. If you want to delete faces, you will have to select it and use the “delete” key on your keyboard. By using your eraser with the click-and-drag function, you will only erase what you have flown over upon releasing the mouse button.
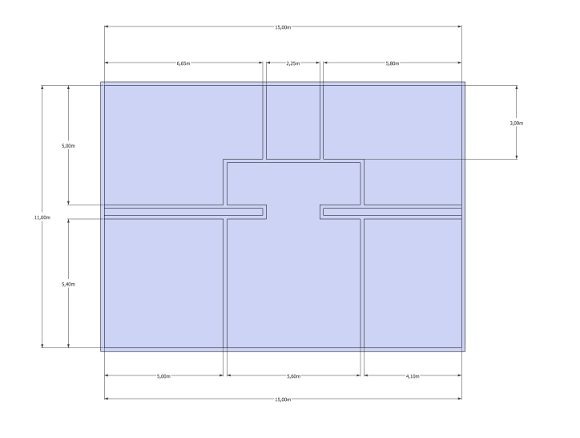
In the meantime, all the elements that you have flown over will be highlighted in the “blue” color (as during a selection). The “eraser” tool can also be used to “soften” edges or simply to hide them. But we will see these in advanced tutorials later. To practice, I suggest you to use a 2D plan or try developing a floor plan as shown below: Please provide your comments.