Hello, in this tutorial we will understand the sticky surfaces in 2 dimensions !
![]() For this we will use the “move” tool. To use it, click the button or use the keyboard shortcut “M” as “Move”. This tool allows us to move objects, edges, points etc … but it also allows to copy or several other things. For now, we will focus on its main function: move.
For this we will use the “move” tool. To use it, click the button or use the keyboard shortcut “M” as “Move”. This tool allows us to move objects, edges, points etc … but it also allows to copy or several other things. For now, we will focus on its main function: move.
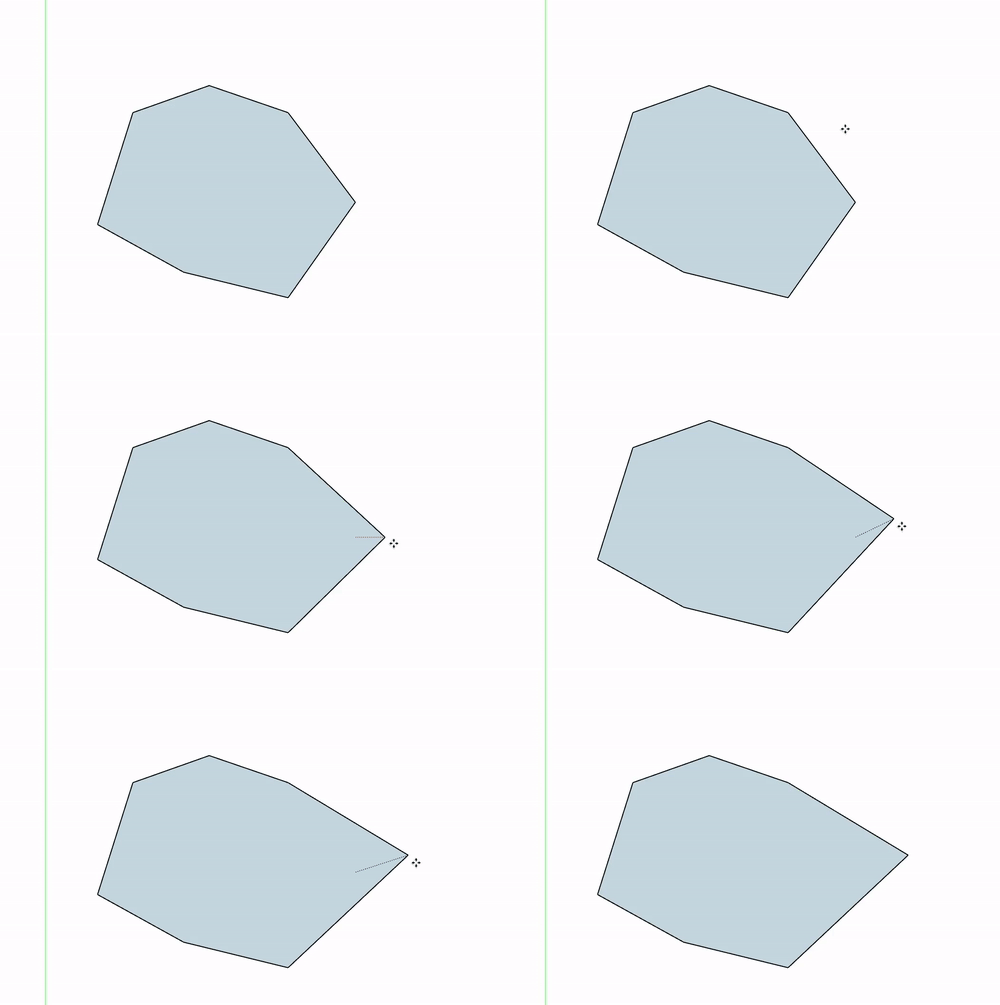
For this we will make a polygon, then we take our “move” tool, note that we need to deselect our polygon. With our “move” tool we will click on one of the points of our polygon, and we will move this point.
By doing this you will notice that the two edges that are attached to this point are also moving.
If you move an edge the same thing happens, both edges that are attached move with. The edge you are moving does not change, either in size or orientation.
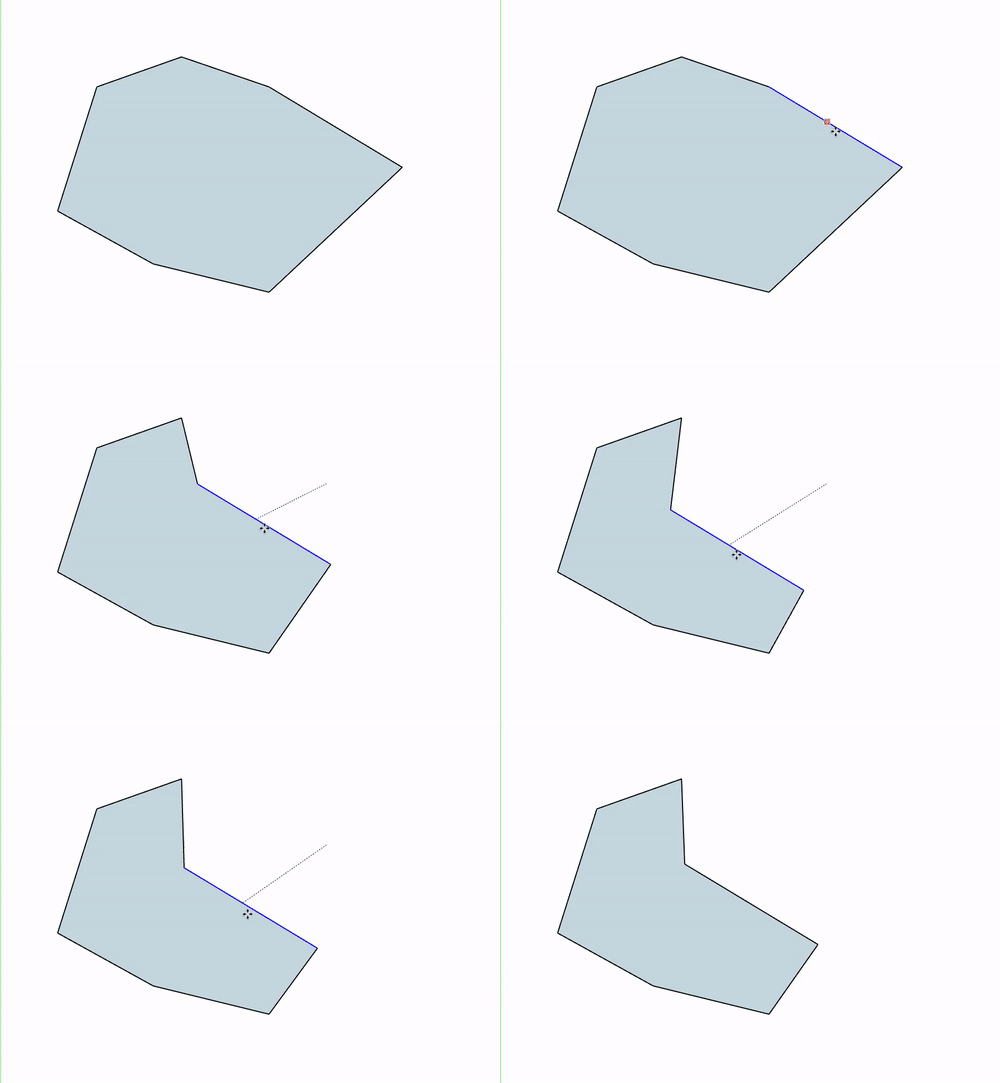
You can also move faces, that move all the edges that form that face. Of course, if your face is stuck to another it will distort your other face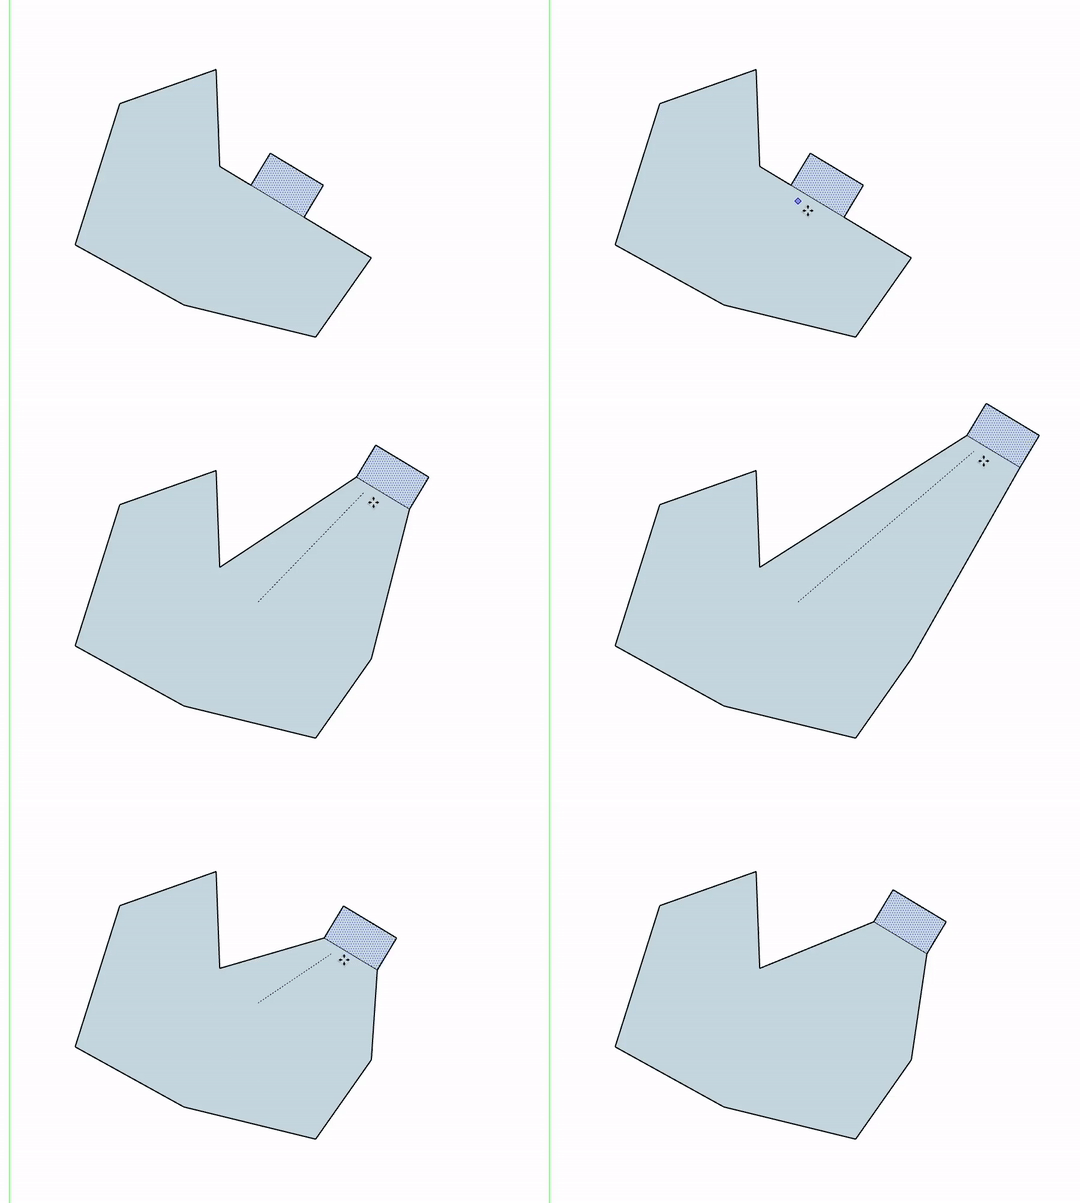
Remember : you can select objects upfront (pre-select) what you want to move. When you do this, clicking anywhere with the “move” tool will move what you have already selected. This can be confusing at first but it is very convenient if you want to move something in a specific place.
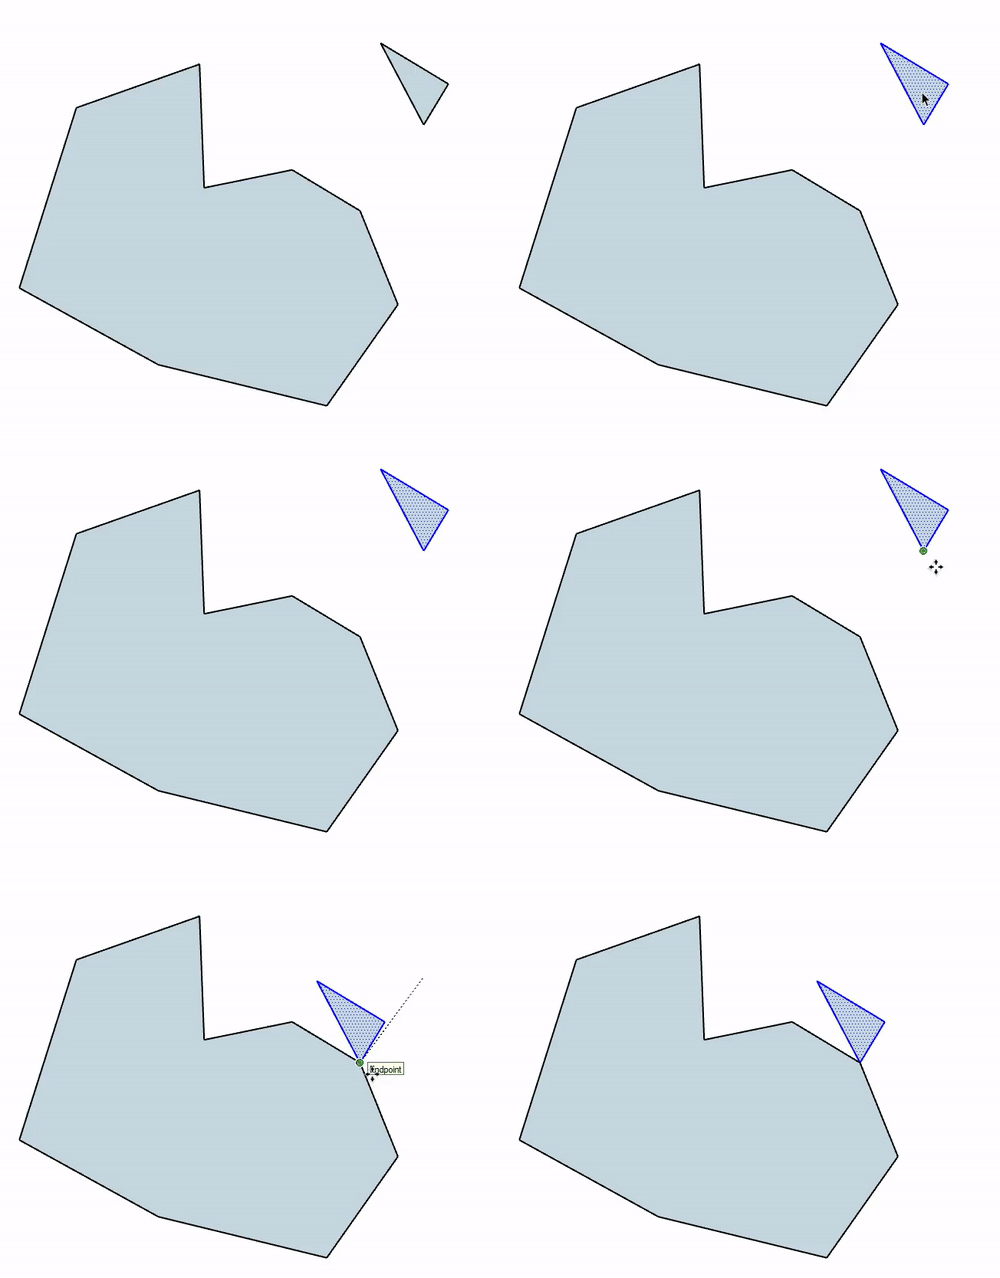
For example, you can choose to place a face by a specific point to move it as desired. Here is an example.
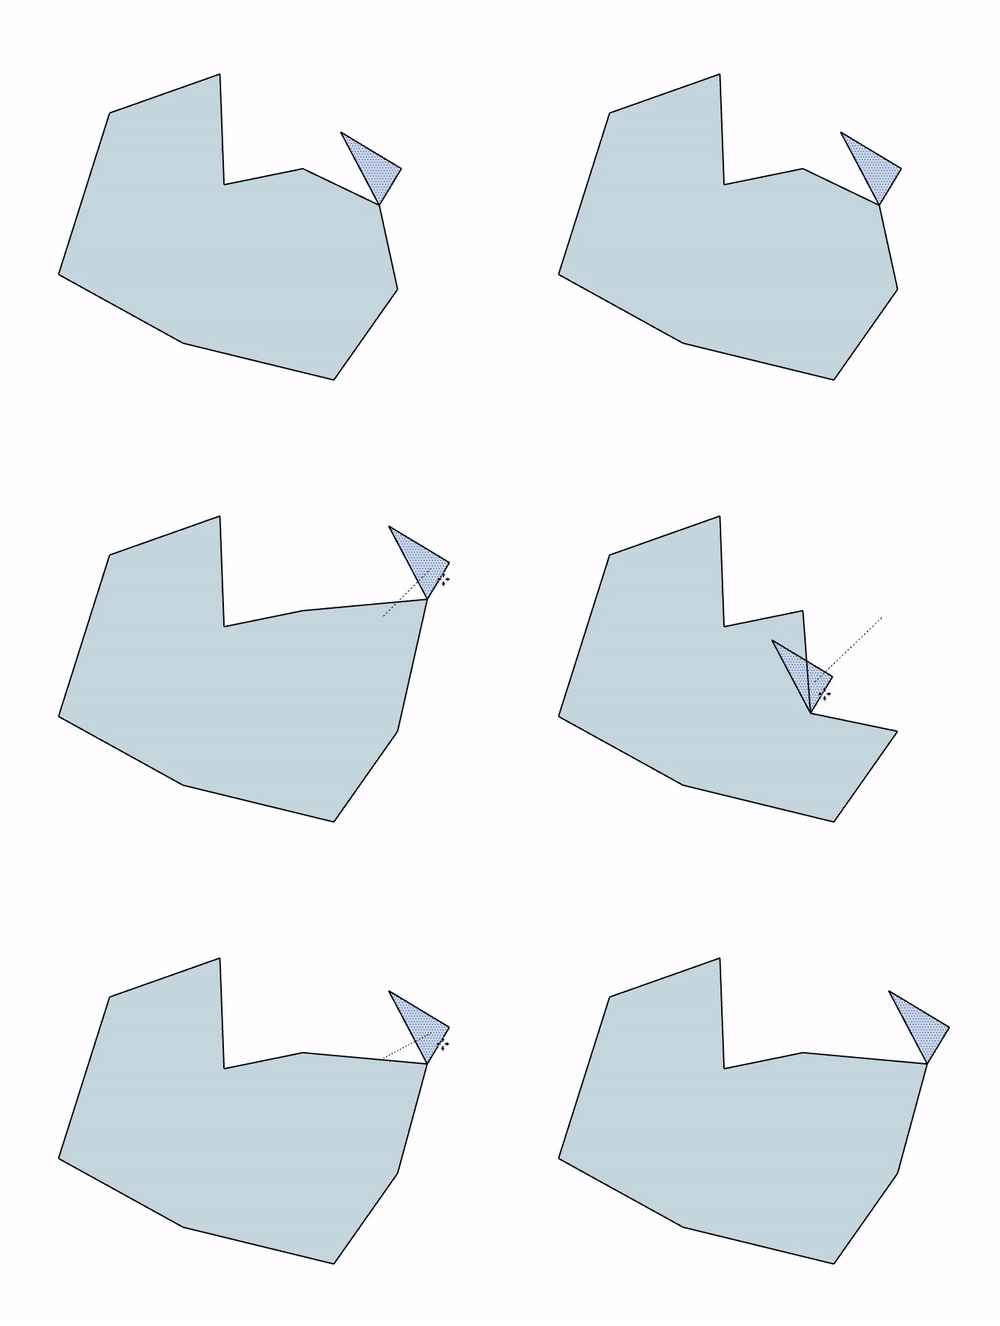
In this example, I selected the face by double clicking on it with the selection tool (this also selects the edges attached to the face). Then I took my “move” tool and clicked on the point that interested me. I was then able to move it precisely on one point of my polygon, something I could not do by selecting anywhere on the face with my “move” tool. Of course, now, if I move my face, we can see that the point that moves distorts the other side.
In this example, I selected my face by double clicking on it with the selection tool (this also selects the edges attached to the face). I then took my “selection” tool and clicked on the point that interested me. I was then able to move it precisely on one point of my polygon, something I could not do by selecting anywhere on the face with my “move” tool. Of course, now, if I move my face, we can see that the point that moves distorts the other side.
This is due to the fact that I brought my face to the point. SketchUp has brought the two points together to make it one. So you can see that the geometry in SketchUp is related to each other. In the next tutorial, we will see the “offset” tool and the “erase” tool. We will also practice what we have seen in our previous tutorials. Please give your opinion in the comment below
